How to Upload From Photos to Google Drive on Mac
Previously, to back up photos and videos to Google Photos on your PC and Mac, you had to upload them manually to the Google Photos web app. That involved working with a browser as there was no native mode. Merely now, thanks to the new Drive for Desktop app, yous can select folders on your computer with photos and videos to be backed up to Google Photos automatically in the background just similar on your phone.
Let's start with the manual procedure first.
Uploading Photos & Videos to Google Photos on PC and Mac
If all you lot need is to upload some photos and videos just one fourth dimension, setting up an automated process isn't needed. You can do so using the Google Photos website manually to back up.
1. Open the Google Photos website and click on the Upload button at the top-right corner.

2. This will open a drop-down carte. Select Estimator choice to upload the photos from the PC or Mac.
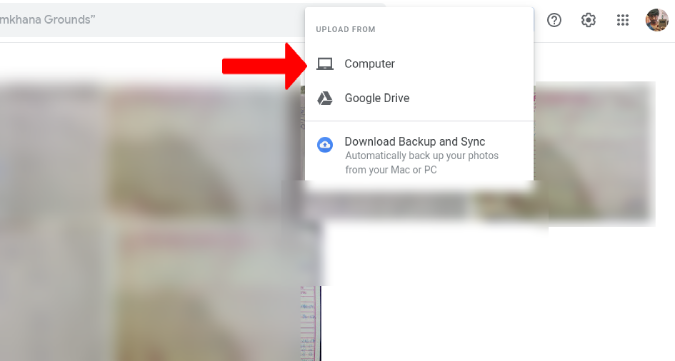
3. This will open the File Explorer on your Windows or Finder app on your Mac. Just select the photos & videos that you desire to upload and click on Open. You lot can select multiple photos and upload them all at once.

But if you lot prefer to have a backup option for your desktop photos and videos, then instead of uploading manually, you tin gear up upwards a sync procedure.
Fill-in Photos & Videos to Google Photos on PC and Mac
Google recently introduced Drive for desktop app for both Mac and PC. This app is said to supersede the disruptive Fill-in and Sync app and Drive File Stream app and works for both personal and Workspace accounts. Information technology besides comes with a new UI and additional features like the ability to log in with multiple accounts. Having said that, here'due south how you can backup your photos & videos to Google Photos on PC and Mac with the new Drive for desktop app.
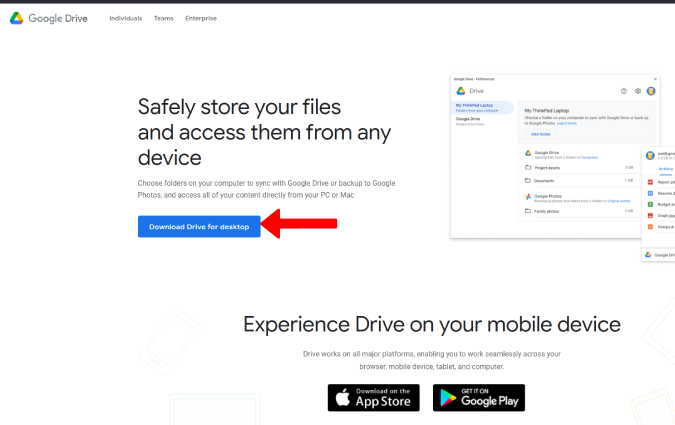
one. Open this link to download the Drive for desktop app. Here click Download Drive for desktop push to download the app for your respective OS.
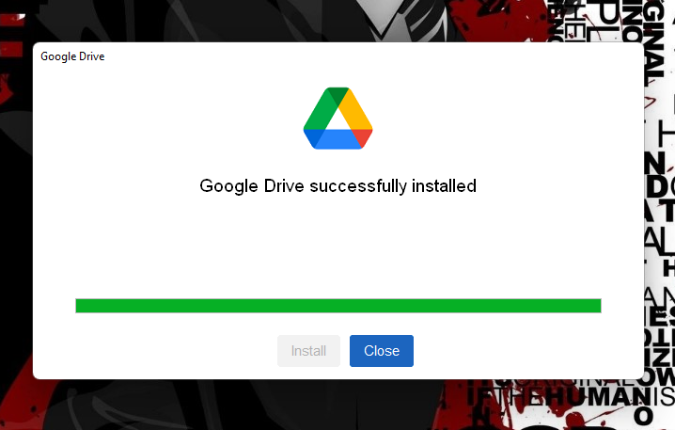
two. Once downloaded, open the downloaded file and install information technology merely like whatever software on your calculator.
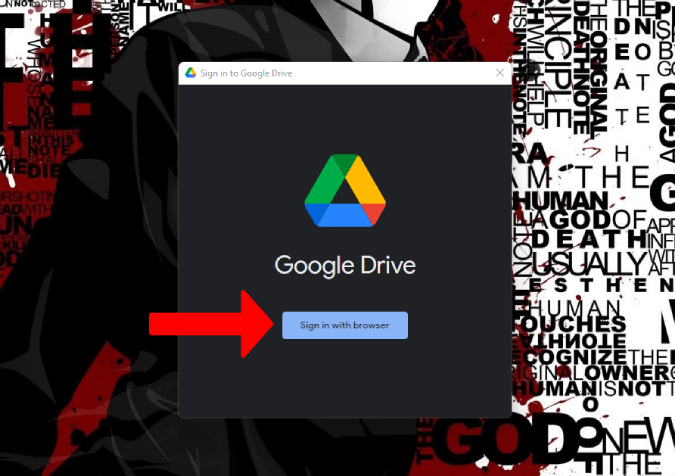
iii. Open the app and click on the Sign in with browser push button.
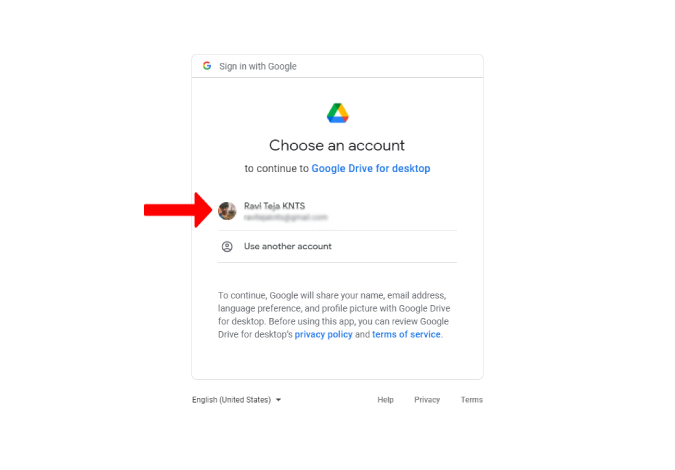
four. This volition open the default browser. Here log in with the Google account where you want to upload photos and videos to.
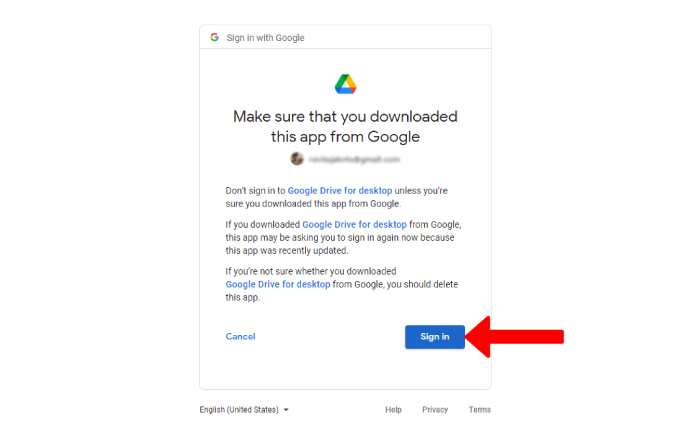
five. Next click on the Sign-in button to confirm that you have downloaded the app from Google itself.
That's information technology, you have successfully installed the app and logged into your Google account. At present all you demand to do is to set upward a backup process.
6. Click on the Drive icon in the Taskbar in the bottom correct corner. If yous tin can't notice the icon, click on the up arrow to find it. If the icon is however not visible, try to open the installed Drive for desktop app and the icon should show upwards.

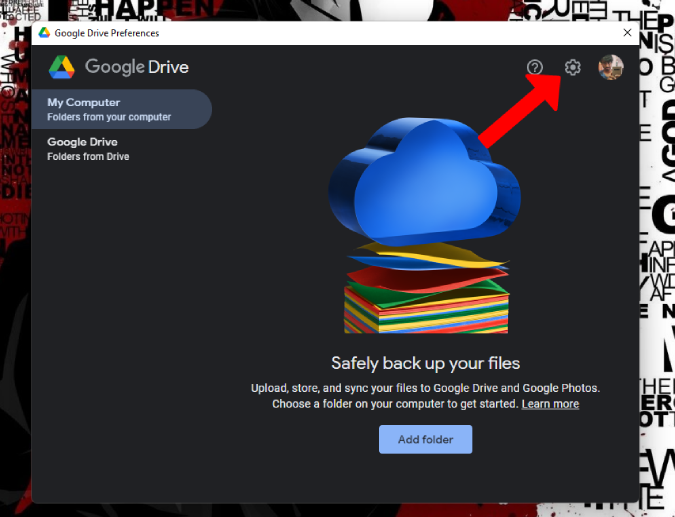
7. Here click on the cog icon and and so select Preferences.

8. This will open Google Bulldoze Preferences window. Again click on the cog icon at the summit right to open Settings.
9. One time you are in settings, curlicue down to the Google Photos department and select the quality of your desired back up and click on Salve.

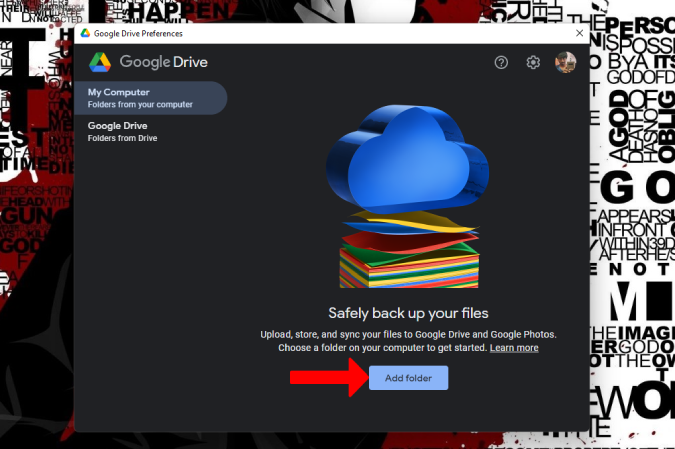
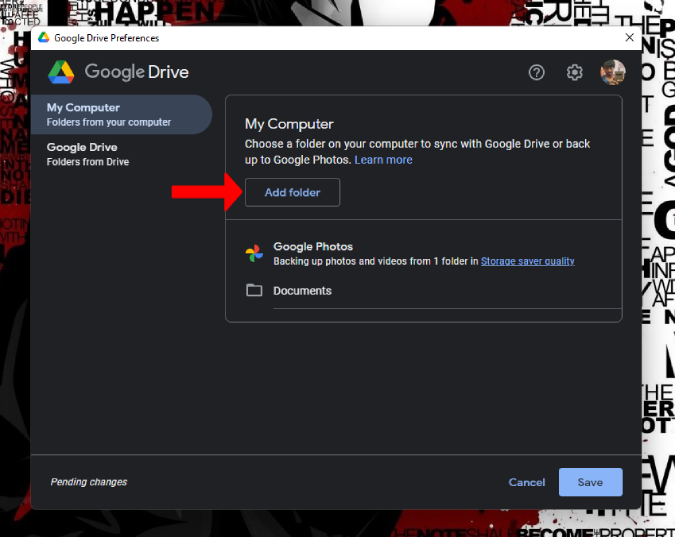
x. Hither you tin can discover Add together folder button – click on it.
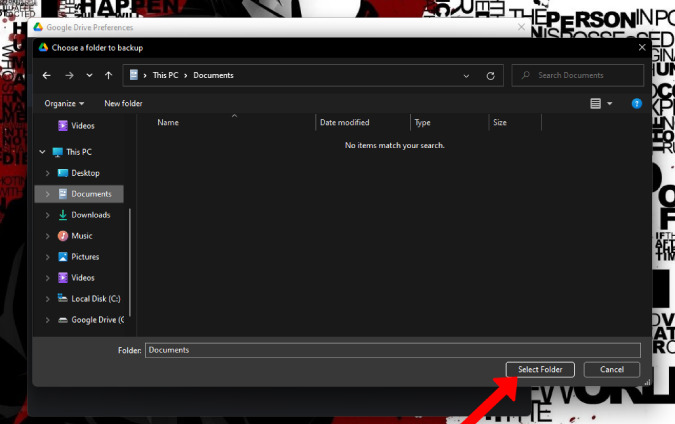
11. This will open up File Explorer on Windows or Finder app on the Mac for you to Select Folder that y'all desire to backup. Remember that Google Photos can back up photos and videos that are deep down in the bureaucracy of folders. And so you lot can select the root folder to backup all the photos and videos on your desktop.
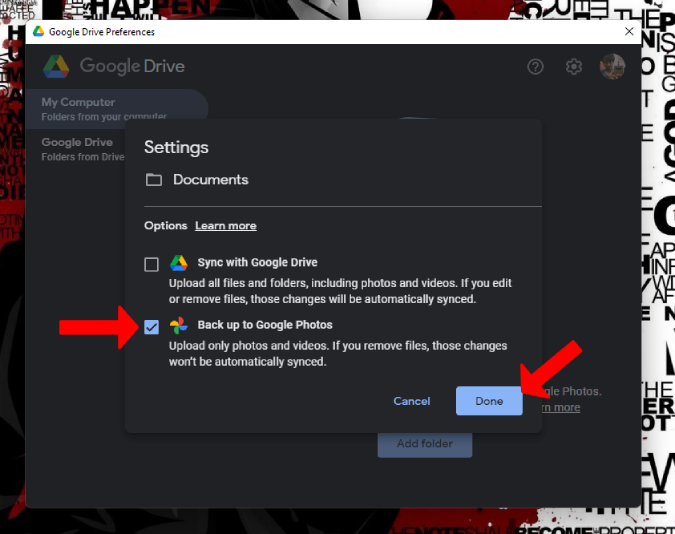
12. Once y'all have selected the folder, it will open up a minor overflow window. Here disable the checkmark abreast Sync with Google Drive and enable the checkmark beside Back upwardly to Google Photos. Now click on Done.
13. Click on Add Folder button once more to select multiple folders to fill-in to Google Photos.
14. In one case done, click on Save. This volition dorsum upward the photos and videos of that binder to your Google Photos business relationship.
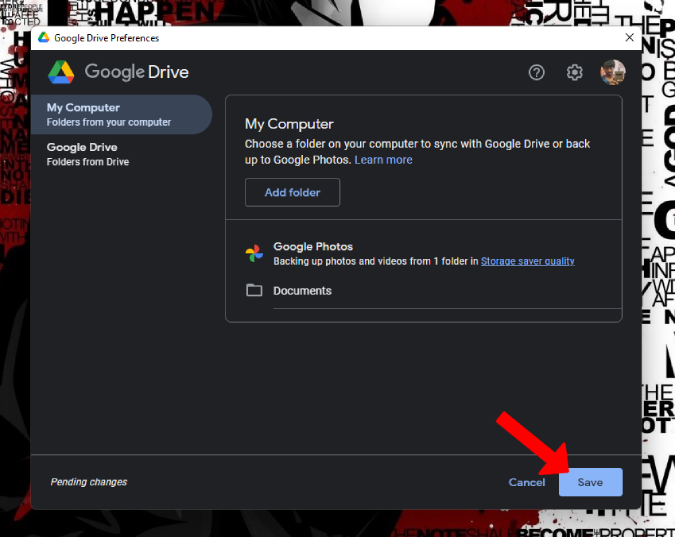
Now close the Google Drive Preferences window. All the photos and videos that are in the selected folders volition start getting uploaded in a few minutes.
Wrap Up: Fill-in Photos and Videos to Google Photos on PC and Mac
This is a fill-in solution and not sync. So if you delete or edit those photos or videos on your PC or Mac, it will not reflect in Google Photos. However, if you lot add images or videos to the added folder, they will exist uploaded to Google Photos.
At that place are several new features added to Drive for desktop. For example, see who'due south editing with Real-Time Presence in Microsoft Role, integration with Microsoft Outlook, Come across scheduling, syncing only individual files in My Bulldoze, logging in with multiple accounts, etc.
Also Read:
- Microsoft Photos vs Google Photos: Which Photograph Backup Service Is Better on Windows ten
- How to Share Photos and Videos on Google Photos With Family
johnsonmistle1957.blogspot.com
Source: https://techwiser.com/backup-photos-google-photos-pc-mac
0 Response to "How to Upload From Photos to Google Drive on Mac"
Enregistrer un commentaire